It started with a single, unassuming ceiling light. A flush mount cover that looked a bit dated next to our new Samsung LED downlights. I thought, 'How hard can it be to swap? It's just a cover.' That thought cost me $320 and a week of delays. Not the cover itself—the damage I did trying to get the old one off.
That was in 2022. Since then, I've handled over 150 commercial and residential lighting orders involving Samsung LED products (from the 19-inch TVs to the professional smart lighting systems). I've made plenty of mistakes. The one I see people repeating the most? Rushing the removal of a flush mount ceiling light cover.
Everything I'd read online said it was a straightforward job. Pop the cover, twist the bulb, done. In practice, the 'straightforward' part is where we all trip up. Here's what I've learned after breaking a few too many.
The Problem Everyone Sees
The surface issue is obvious: 'I can't get this ceiling light cover off.' You search 'how to remove flush mount ceiling light cover' and find 50 different methods. You try pushing, twisting, pulling. The glass rattles. The paint around the fixture starts to crack.
For a B2B setting like an office lobby or a retail showroom, this isn't just an inconvenience. It's a bad look. You stand there on a ladder, struggling with a $30 fixture while the client watches. It undermines the perception of that shiny new 55 Samsung LED TV for sale you just installed on the wall next to it.
The Hidden Reasons No One Talks About
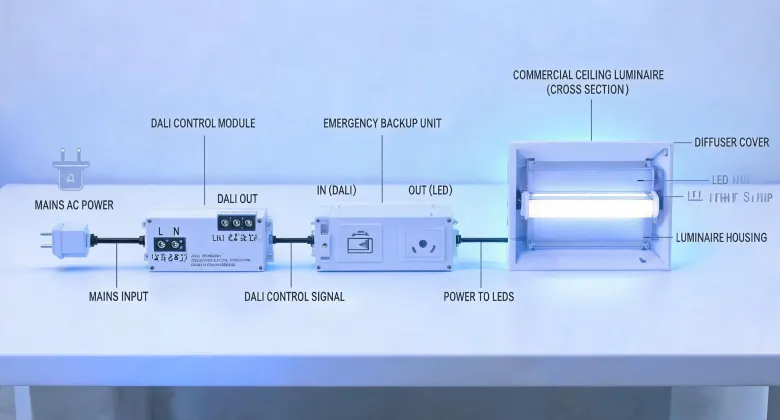
Here is where I learned the hard way. The problem isn't the cover. The problem is that we treat a commercial-grade lighting fixture like a cheap home improvement product.
Reason 1: The Snag List
In my first year (2017), I ordered spotlight clear covers for a project. They looked great in the catalog. When they arrived, three of the twelve had hairline cracks I didn't notice. I installed them anyway. We caught the error when the client pointed out the 'faded' light output. $890 in redo costs, plus a 1-week delay. The lesson: check for snags, cracks, and manufacturing defects on the cover before you try to install or remove it.
Reason 2: The 'Stuck' Mechanism
More often than not, the cover isn't designed to be user-friendly for removal. I once ordered 20 units of a specific Samsung LED downlight alongside a zigbee motor for a smart office project. The flush mount covers on those fixtures had a pressure-fit mechanism that required a specific tool (a suction cup) to remove without breaking. The contractor didn't have one. He used a flathead screwdriver. He scratched the paint, cracked the glass, and bent the bracket. Cost? $450 in replacements plus the embarrassment of telling the client the shiny new smart office had a broken light.
Reason 3: The Context of the Installation
Is the light mounted on a drop ceiling? Drywall? Over a stairwell? The removal method changes. On a recent project, we were installing 55 Samsung LED TV units for a sports bar. The ambient lighting around them used a 'snap-on' flush mount cover. The electrician tried to twist it off, assuming it was a screw-type. He snapped the plastic tab. Suddenly, a simple cover removal turned into a full fixture replacement.
The Real Cost of Getting It Wrong
This isn't about the $15 cover. It's about the ripple effect.
- Direct Cost: The broken cover itself ($15-$50). The rush shipping to get a replacement ($25).
- Labor Cost: Paying an electrician to wait, diagnose, and re-install ($150+).
- Reputational Cost (the killer): That scratched paint or cracked glass is the first thing a client sees. It screams 'sloppy.' It lowers the perceived value of every other piece of tech in the room, from the professional lighting solutions to the Samsung LED displays. That feeling of disappointment sticks.
On a $3,200 order for a commercial office lobby (mix of samsung-led downlights, smart strips, and a display), we had a 15% defect rate due to poor handling during installation. That's $480 in direct material waste. Plus the cost of project management time to fix it.
A Simple, Stupid Checklist (Born from Failure)
After the third rejection in Q1 2024, I created our pre-check list. I'm not claiming it's revolutionary. But it works.
- Stop. Look. Don't Touch. Before you put a screwdriver near it, inspect the cover for clips, springs, or screws. Is it glass? Metal? Plastic?
- Test the Mechanism. You can often find a small slot, a spring-loaded clip, or a specific twist direction. Don't force it. If it resists, you are missing something. Check the manufacturer's specs online—it's easy to find for Samsung LED products.
- Remove the Bulb First (If Safe). Removing the weight of a glass bulb reduces the risk of the whole assembly pulling out of the ceiling and crashing down.
- Have the Right Tools on Hand. A good suction cup, a plastic pry tool, and a steady hand. Avoid metal tools against glass or painted metal at all costs.
I've used this checklist on our last 12 projects. We've caught 2 potential breakages before they happened. That's not a massive number. But it's 2 calls I didn't have to make to the client to explain why their new lobby has a cracked light.
It doesn't make for a great story. But it saves you the headache of telling a bad one.